Start with your pattern and sew the neckline, armhole, etc., together so you have it done except the edge finish. If your pattern contains seam allowances on those edges, go ahead and trim off the seam allowance on the edge.
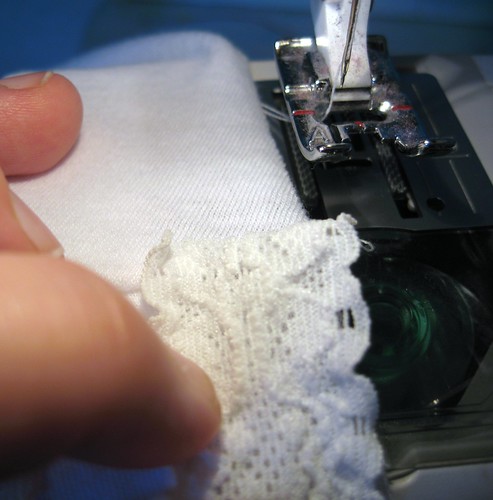
Once the edge no longer has a seam allowance included, take your stretch lace and align the lace over the top of the edge, matching the raw edge of the garment and the outer edge of the lace. Then sew the inner edge of the lace, using a stretchy stitch. I like to use a 3-step zigzag. Use thread to coordinate with your lace color.
Go all the way around. At the end of your circle, you are back to where you started. I like to fold in the last of the end.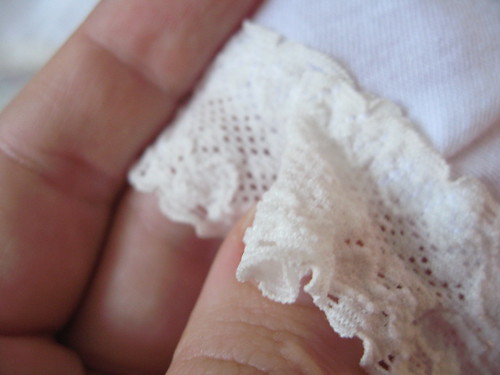
Here is what it should look like approximately from the back.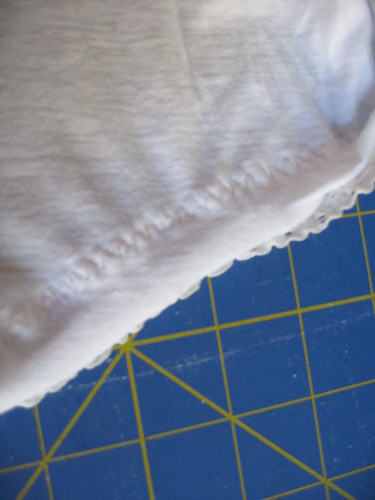
Now, you need to trim off the excess fabric underneath the lace you sewed on. Trim it very very close to your seam line that attached the lace to the garment.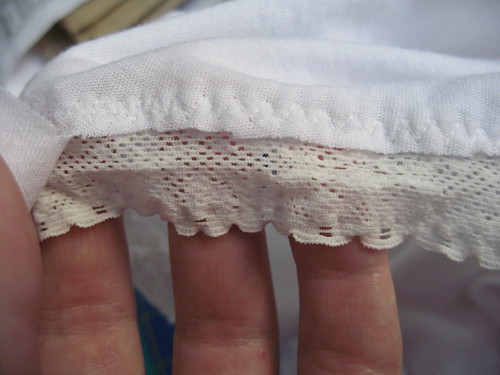
At this time you need to go back to where the lace formed the circle and close the circle completely. [Don't do it before this time unless you first fold back the garment fabric or else your garment fabric will be in the seam and can't be trimmed away.] I stitch over the edge of it where it overlaps, again with a 3-step zigzag (just my preference), perpendicular to the original stitching line. Now, the lace is completely joined in a circle.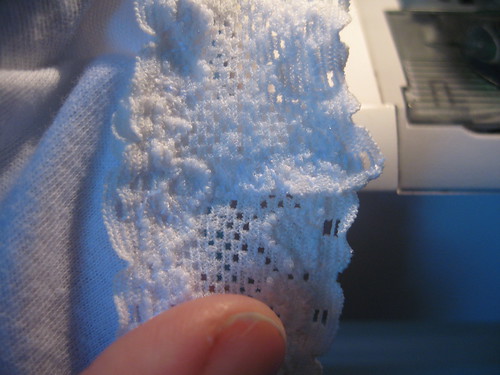
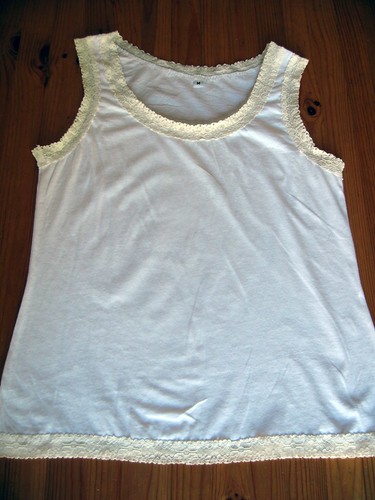
All done! Easier than binding for sure. This makes a great neckline, armhole, waistband, etc.
No comments:
Post a Comment