Wednesday, March 7, 2012
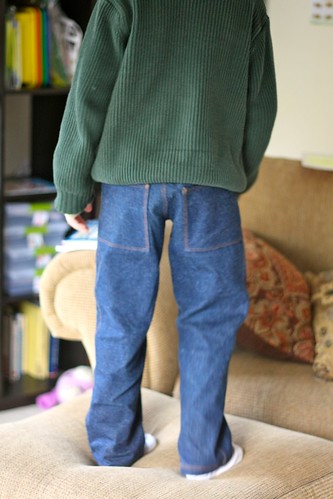
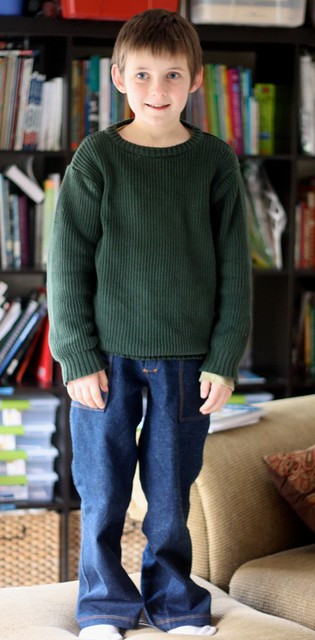
Ottobre 1/04 jeans

Thursday, March 10, 2011
Shame on you FabricMartFabrics
So in February, I finally had my sewing budget not used and decided to join Julie's Picks swatch club from FabricMartFabrics. At the time (up until yesterday in fact, more later), it stated "12 monthly" swatch packets would be sent to me for the $50 fee. I joined, and received February's mailer (I joined in the first half of February). Since January fabrics were still listed on the site, I expected to receive January's mailer as well. Finally, it irritated me enough that I emailed yesterday to inquire of the site. I got a terse reply via email today, no apology for misleading, nothing - swatches for January would not be sent to me as apparently they only make enough based on "fall membership campaign" if the email is to believed. They did change their site yesterday.
So, while I did enjoy the February mailer very much, I have to say my Fabric Mart experience so far has left a decidedly distasteful impression on me, and my fabric hasn't even arrived yet ... let's hope the fabric is nice because customer service seems to leave something to be desired. The price doesn't change but what you get does go down every single month into the year. The swatches are nice though I have to admit, so the jury is out whether I will ever try this again with them next year. Perhaps it was a simple mistake, not thought through on their wording. I hope so.
Here is what it stated when I purchased, notice specifically the term "12 monthly mailers" ... which is only true if you join in January or earlier.
Benefits of a subscription to Julie’s Picks
- Approximately 30 fabric samples sent to your door monthly
- See and feel fabrics before buying
- Exclusive discounts on fabrics, notions and more! (changes monthly)
- Fashion drawings and pattern ideas to help you decide how to use each fabric
- $25.00 coupon to use towards any website or Julie’s Picks order
Subscription includes a $25.00 coupon for any website or Julie’s Picks order. (Coupon will be sent with your mailer)
Wednesday, November 11, 2009
Click here to download the pattern file from google docs.
Material: Made for knits, 25% minimum stretch. Photographed item is from a cotton interlock.
Sizing: Size 40 european approximately, M/L, bust approximately 36" at full bust
Seam allowances: SA are noted on the pattern at 1/2". The sewing lines are also noted in case you prefer to cut off the SA or change them.
Yardage requirements: Approximately 1-1/2 yds of 60" wide
Other supplies:
1. One 23-24" piece of coordinating or contrasting trim for lower front. I used cotton trim in the sample. If using nonstretch trim, preshrink. I used 1 inch width.
2. One 6-8" piece stretch lace for the keyhole neck opening.
Instructions:
1. Cut out front and back on fold, sleeve x2. In addition you need to cut approximately 52" of 1" self binding for the neckline plus tie extensions.
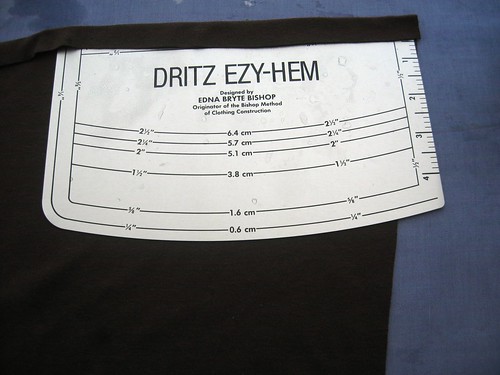
2. Turn up 1/2 inch hem allowance on the shirt front piece but do not sew yet.
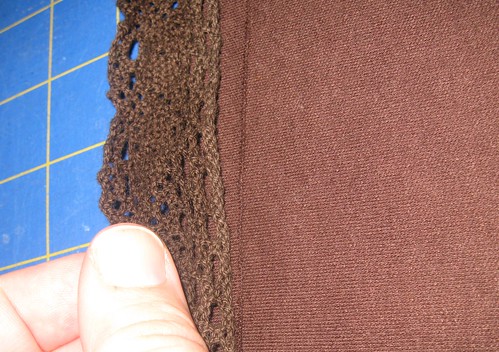
3. Measure your front bottom trim and place right side of trim to wrong side of shirt front, leaving trim extending below front piece. If you are using 1" trim, you can align the raw edges together and it will come out right (i.e., back piece is 1/2" longer than front). If using wider or narrower, you will need to adjust it so that the front and back will meet (see #11 below).
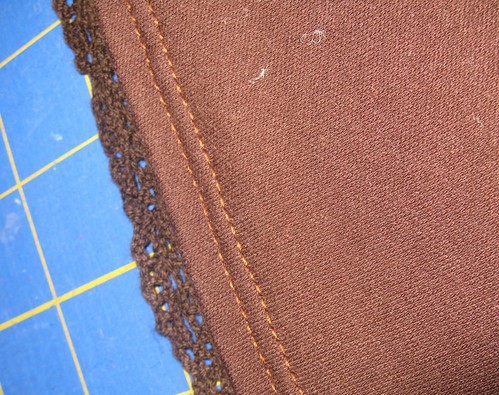
4. Stitch front hem and trim on in one pass, using double needle or coverstitch.
5. Hem back piece and sleeve bottoms with 1" hem, using coverstitch or double needle, to match front hem.
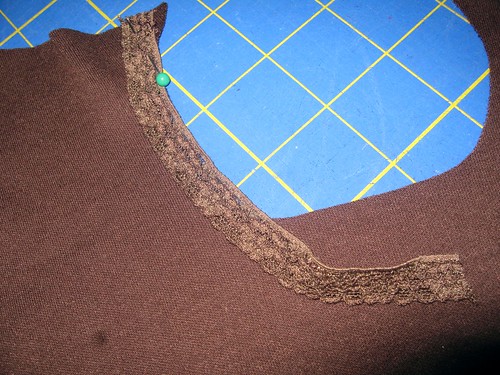
6. Pin stretch trim to keyhole neckline area, stretching it to fit.

7. Sew the lace neckline trim on, sewing close to the inner edge of the trim piece.
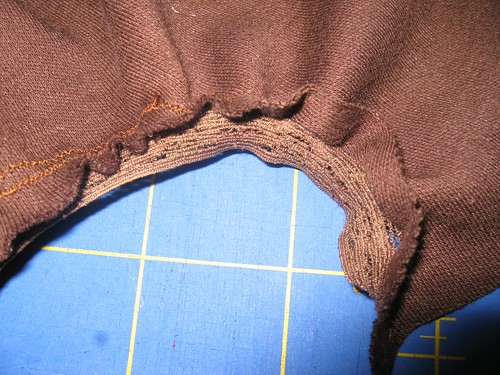
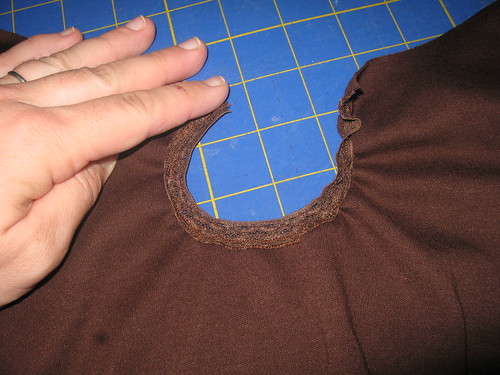
8. Cut off excess neckline fabric behind the lace trim, such that the lace trim has no fabric behind it, being careful not to cut through the lace.
9. Sew front of shirt to back of shirt at shoulders, right sides together. Topstitch if desired.
10. Sew each sleeve to respective side of the body of shirt, right sides together. Topstitch if desired.
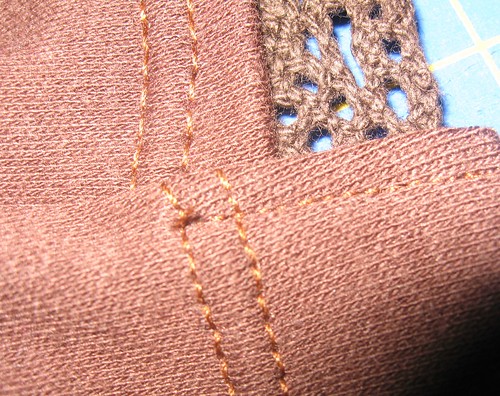
11. Sew sleeve seam, underarm and side seams in one continuous stitch line. Be sure to catch the edge of the lace trim at the front bottom into the stitching.
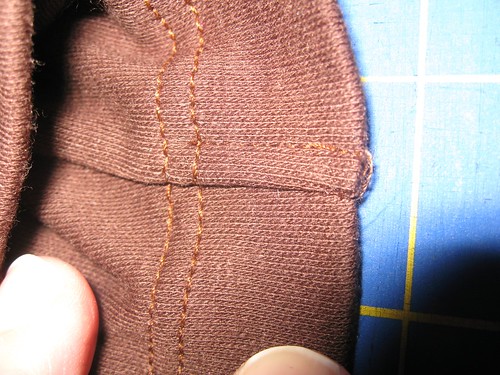
12. Fold the seam allowances at bottom hem and sleeve hem towards the back and tack down with a small stitch line parallel to the seam (see photos). This is for comfort and appearance.

13. Pin the 1" self-binding to the neckline, placing midpoint of the binding at center back. Stitch in place, right side of binding to right side of neckline.
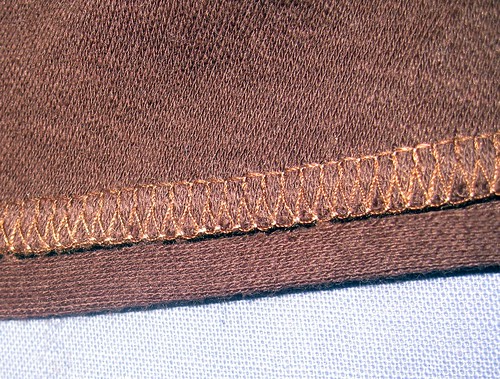
14. Press the binding upwards, away from the top. Fold in the raw edge of the binding towards the center and press.
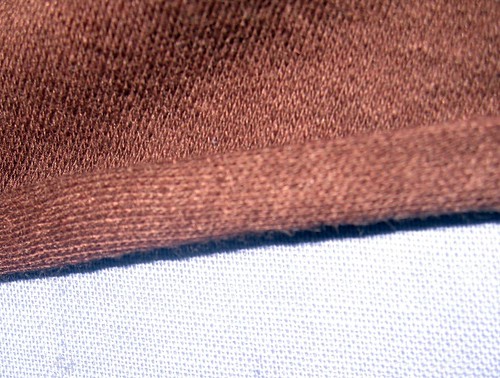
15. Fold the binding to the back. Then topstitch on the front, securing the binding. Sew all the way down the ties, tucking in the raw edges at the end of the ties to give a finished look at the end of the ties.

All Done!


Thursday, October 15, 2009
No pattern!

Monday, September 14, 2009
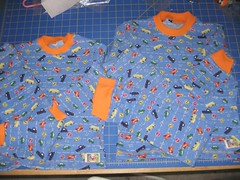
PJs for N and nephew
Wednesday, September 2, 2009
Finishing a neckline with stretch lace
Start with your pattern and sew the neckline, armhole, etc., together so you have it done except the edge finish. If your pattern contains seam allowances on those edges, go ahead and trim off the seam allowance on the edge.
Once the edge no longer has a seam allowance included, take your stretch lace and align the lace over the top of the edge, matching the raw edge of the garment and the outer edge of the lace. Then sew the inner edge of the lace, using a stretchy stitch. I like to use a 3-step zigzag. Use thread to coordinate with your lace color.
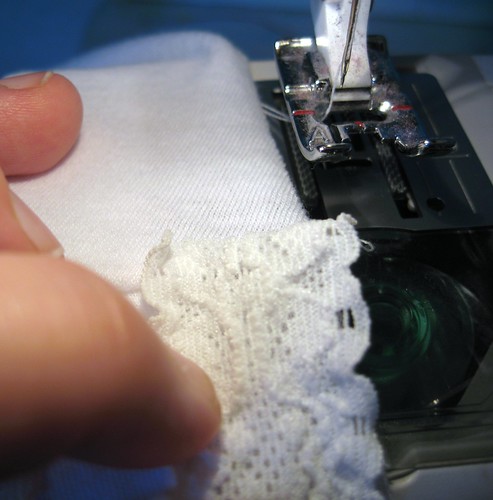
Go all the way around. At the end of your circle, you are back to where you started. I like to fold in the last of the end.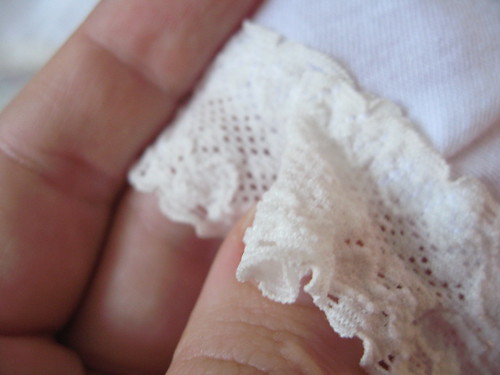
Here is what it should look like approximately from the back.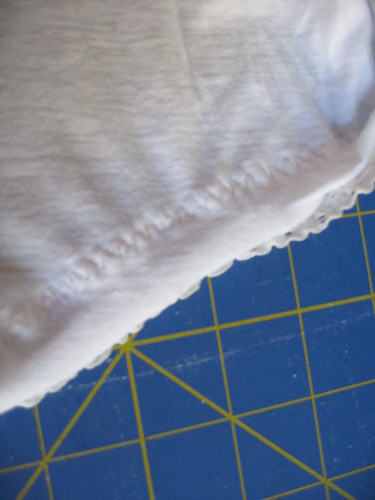
Now, you need to trim off the excess fabric underneath the lace you sewed on. Trim it very very close to your seam line that attached the lace to the garment.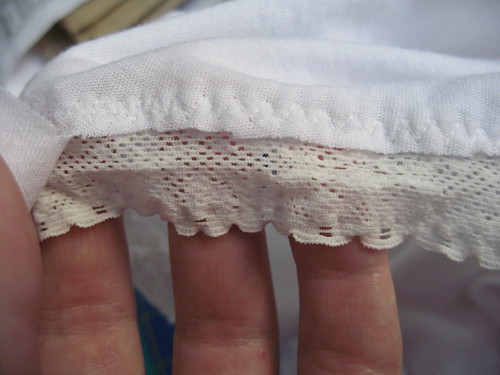
At this time you need to go back to where the lace formed the circle and close the circle completely. [Don't do it before this time unless you first fold back the garment fabric or else your garment fabric will be in the seam and can't be trimmed away.] I stitch over the edge of it where it overlaps, again with a 3-step zigzag (just my preference), perpendicular to the original stitching line. Now, the lace is completely joined in a circle.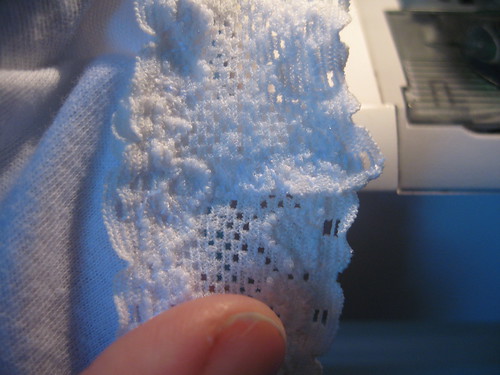
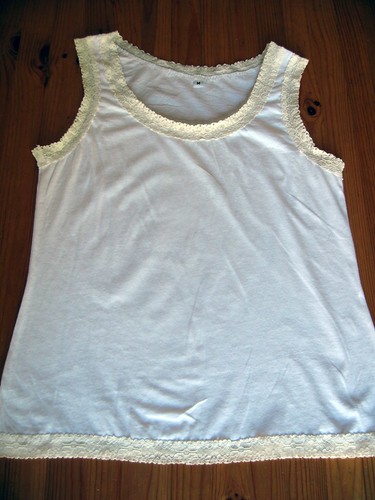
All done! Easier than binding for sure. This makes a great neckline, armhole, waistband, etc.
Sunday, August 16, 2009
Simplicity 3802 smock/apron

For those of you interested in the complete review of this pattern, I did a review at Patternreview, here. Definitely a keeper of a pattern for us.
Thursday, August 13, 2009
Later gator PJ set


Monday, June 29, 2009
Today's sewing really was an adventure
I was working on Kwik Sew 2627, which I got from Print Sew. Currently, it is a free download! That is about the only plus from my perspective. Don't get me wrong; I typically LOVE Kwik Sew patterns. I looked at this and thought it may be a nice easy summer dress. I was a tad concerned it would look like a shapeless sack on me, so I carefully chose view C, with the ties, and did my usual size for the top, grading up slightly for the skirt as I'm a pear shape. I shortened it as even the knee length version was going to be calf length on me.
Well, the size that usually fits great was too wide, way too wide, in the shoulder. I had already test fitted the back pieces, usually my problem, and did an adjustment so that the back neck would not gape. That went great. It was everything else that didn't look good. The fit honestly wasn't terrible at the end except for the neckline, but it just did not suit me at all. So into the trashcan and on with the next project. I think I'm going to do something for Lily or the boys. Their stuff usually fits nicely and looks good on them. Much more satisfying than this.
So, my opinion? The pattern is free right now if you are willing to print it. It runs a tad shapeless so if you are trying to accent a waist, do the tie version at least. For taller people or more of a straight up and down bodytype, it would probably suit you (but then most things probably do!). I'm really not out too much at least with a free pattern and some fabric I have had for years. So all is not lost, but discouraging all the same.